Get Started with Trezor – Your Gateway to Secure Digital Asset Management
Welcome to Trezor, the pioneering hardware wallet designed to give you ultimate control over your digital assets. Whether you are exploring cryptocurrency for the first time or already familiar with blockchain technology, Trezor helps you manage your assets securely, keeping your private keys offline and protected from hackers, malware, and phishing attacks.
This guide will take you step by step through setting up your Trezor device and show you how to safely manage your digital assets.
Why Use a Trezor Hardware Wallet?
Trezor hardware wallets store your private keys offline, meaning they are never exposed to the internet. Unlike software wallets or online exchanges, which can be vulnerable to cyberattacks, Trezor ensures that your keys—and therefore your funds—remain under your control.
Trezor devices feature a secure, tamper-proof design and a built-in operating system that protects your assets at every step. This combination of hardware and software security makes Trezor one of the most trusted wallets for digital asset management worldwide.
Step 1: Check Your Package
Before starting, make sure you received a genuine Trezor device. Verify that your package is sealed and untampered. Only buy Trezor wallets from the official website or authorized resellers. Using a compromised device puts your assets at risk.
Step 2: Install Trezor Suite
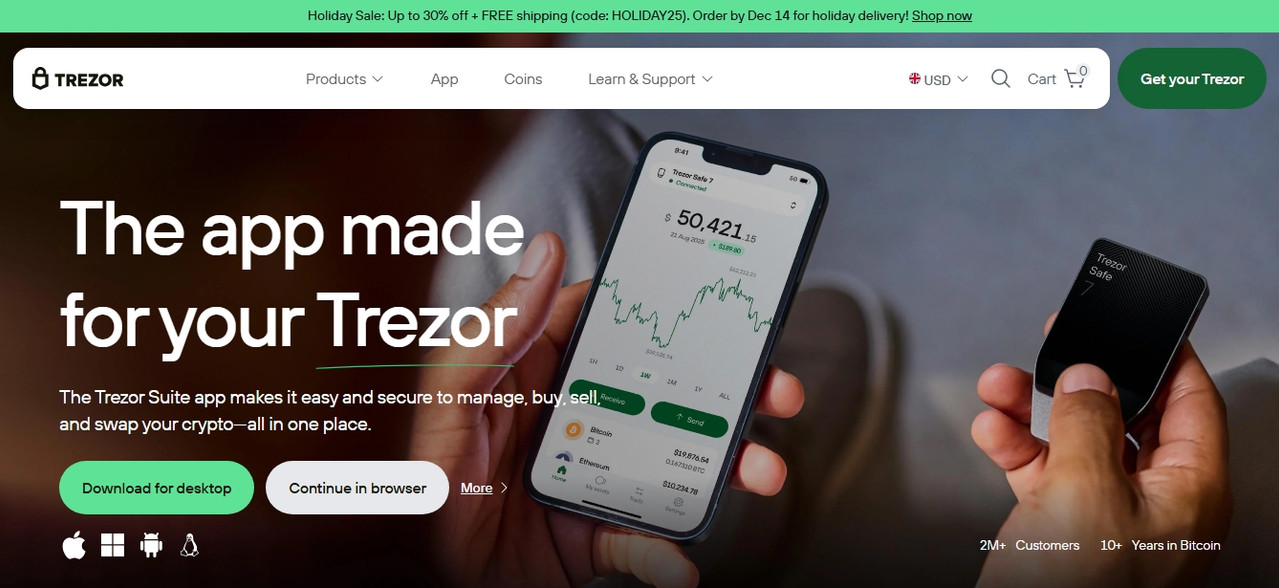
Trezor Suite is the official desktop and web application used to set up your device, manage wallets, and monitor your assets.
Go to the official Trezor website.
Download Trezor Suite for your operating system (Windows, macOS, Linux).
Open the application and select “Get Started.”
Trezor Suite guides you through device setup and ensures that you are using the latest firmware.
Step 3: Set Up Your Device
When powering on your Trezor device for the first time, you will be prompted to:
Create a PIN – A personal code that protects access to your device. Choose a unique PIN and never share it.
Generate a recovery seed – A sequence of 24 words that acts as a backup for your wallet.
Your recovery seed is critical. It is the only way to restore your wallet if your Trezor is lost, stolen, or damaged. Write it down on paper and store it securely offline. Do not take photos or save it digitally, and never share it with anyone. Trezor will never ask for your recovery seed.
Step 4: Confirm Your Recovery Seed
Trezor Suite will ask you to confirm your recovery seed by selecting words in the correct order. Take your time to ensure accuracy. This step verifies that you have safely recorded the seed and are ready to use your wallet securely.
Step 5: Add Cryptocurrency Accounts
Once setup is complete, you can add cryptocurrency accounts via Trezor Suite. Trezor supports thousands of assets, including Bitcoin, Ethereum, and many other tokens. Each account allows you to:
View balances and transaction history
Send and receive funds securely
Install and manage supported apps on your device
Every transaction requires physical confirmation on your Trezor device, which prevents unauthorized transfers even if your computer is compromised.
Security Best Practices
Using Trezor securely means following a few simple but important rules:
Keep your recovery seed offline. Never share it with anyone.
Verify URLs. Always use the official Trezor website and avoid links from emails or social media.
Update firmware regularly. Trezor Suite notifies you when updates are available.
Stay alert for scams. Trezor never contacts users asking for personal information or recovery seeds.
By practicing these habits, you ensure your digital assets remain safe from theft and fraud.
You’re in Control
With Trezor, you control your digital assets completely. No third party can access your funds without your approval. By following the setup steps and security guidelines above, you can confidently manage your cryptocurrencies with peace of mind.
Your journey with Trezor begins here—securely, responsibly, and independently. Start exploring your Trezor device today and experience the benefits of having full ownership of your digital world.